How to Manufacture a Shoe: Step by Step Guide

Author: Andy Hong | Founder at XDS
Hi, I'm Andy Hong, here to share my expertise in footwear manufacturing with you.
How to Manufacture a Shoe: Step by Step Guide
Table of Contents
Ever wondered what goes into creating the perfect shoe? From design to packaging, every step is a precise and calculated process.
As a footwear manufacturing specialist with years of experience in production and design, the difficulty of this process is second nature.
The journey of manufacturing a shoe involves numerous stages, each contributing to quality, comfort, and durability. From selecting materials to finalizing details, every decision matters.
In this guide, you will learn the detailed steps behind shoe production. You will understand how each phase contributes to crafting footwear that stands out.
Keep reading to learn more!
Quick Process Chart
Understanding the shoe manufacturing process is key to appreciating the expertise behind every pair. This table provides a concise summary of each step, highlighting its purpose and actions involved.
| Step | Purpose | Actions Involved |
| Step #1: Design and Concept Creation | Develop the shoe’s blueprint and plan. | Research trends, create sketches, and finalize designs. |
| Step #2: Material Selection | Choose materials that ensure durability and performance. | Evaluate leather, textiles, foam, and sustainable options. |
| Step #3: Creating the Shoe Last (Foot Mold) | Shape the shoe’s fit and structure. | Use measurements, mold lasts, and refine shapes. |
| Step #4: Pattern Cutting | Create pieces for the shoe’s upper and other components. | Cut materials using templates or automated machines. |
| Step #5: Stitching and Assembling the Upper | Assemble the shoe’s upper portion. | Join components, add reinforcements, and inspect seams. |
| Step #6: Preparing the Sole | Prepare the base of the shoe for stability and support. | Mold soles, layer materials, and add functional details. |
| Step #7: Attaching the Sole to the Upper | Securely bond the sole and upper. | Apply adhesives, align parts, and press for durability. |
| Step #8: Lasting and Shaping | Finalize the shoe’s structure and fit. | Stretch the upper, trim excess material, and shape the shoe. |
| Step #9: Finishing and Polishing | Enhance the shoe’s appearance and durability. | Polish surfaces, add details, and apply protective coatings. |
| Step #10: Quality Control | Ensure the shoe meets production standards. | Inspect for defects, test functionality, and approve for packaging. |
| Step #11: Packaging and Shipping | Protect and prepare the shoe for delivery. | Box shoes, label packages, and coordinate shipping. |
The process of shoe manufacturing involves expertise, precision, and attention to detail at every stage. This quick guide provides a snapshot of the steps needed to create high-quality footwear.
Step#1: Design and Concept Creation
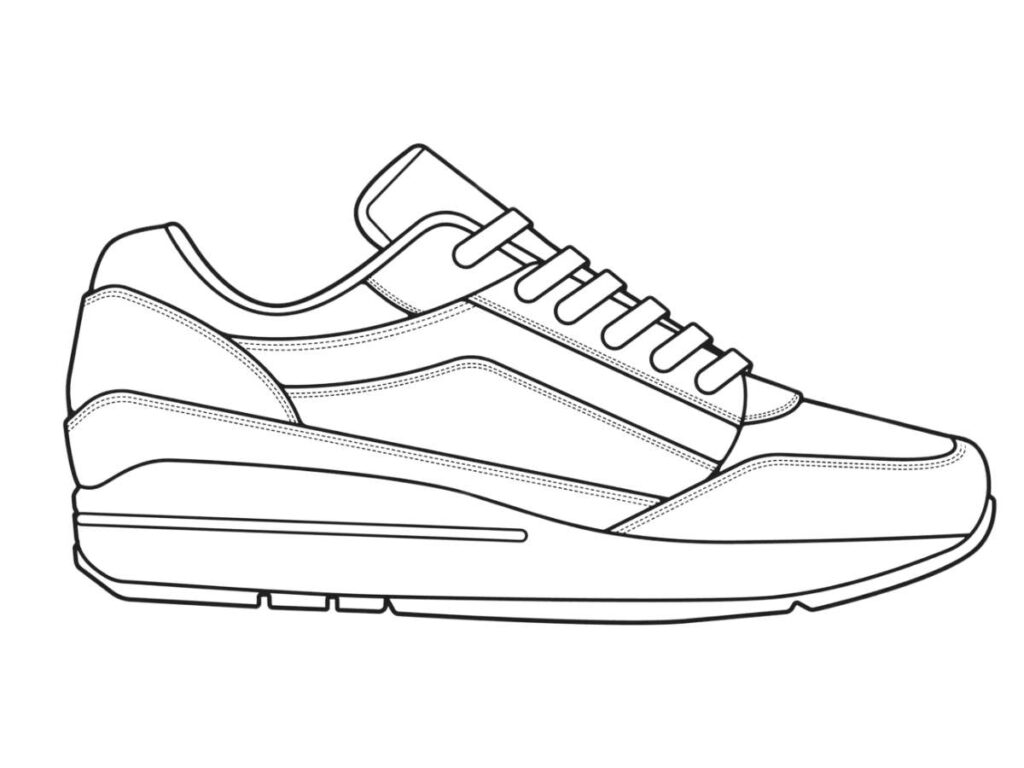
Every great shoe starts with a solid design that blends style and function. This step is where ideas take shape and a clear plan for production begins:
- Identifying Trends and Needs: Research into consumer preferences and market demand shapes the direction of each design. This helps create products that resonate with the target audience.
- Translating Ideas into Sketches: Detailed drawings or digital models are created to map out the shoe’s features, structure, and style. With advanced tools and a refined process, XDS’ experienced designers makes sure that these visuals serve as a precise foundation for production.
- Incorporating Functionality: Each design integrates essential features like comfort, durability, and performance to suit the shoe’s intended purpose.
- Team Collaboration: Close coordination between designers and engineers guarantees that creative ideas are translated into production-ready concepts without compromising functionality.
Step#2: Material Selection
The materials chosen for a shoe define its comfort, durability, and overall quality. This step requires balancing functionality with the design’s goals to create the best possible product:
- Picking the Right Fabrics: Each fabric is selected based on the shoe’s style and purpose.
- Leather: Known for its durability and premium look, commonly used in dress shoes and boots.
- Mesh: Lightweight and breathable, ideal for athletic shoes and summer footwear.
- Canvas: Durable and flexible, often used for casual sneakers or everyday shoes.
- Synthetic Materials: Affordable and versatile, frequently chosen for performance-focused or vegan-friendly designs.
- Building a Strong Foundation: For soles, rubber provides grip and longevity, while foam layers add lightweight cushioning. These materials work together to enhance performance and comfort.
- Testing for Quality: Every material is checked for properties like flexibility, strength, and wear resistance to make sure it meets the demands of daily use.
Step#3: Creating the Shoe Last (Foot Mold)
The shoe last is where the production process truly takes shape—literally. This mold determines how the shoe will fit and feel, making its creation both technical and precise:
- Starting with Measurements: The process begins by gathering exact foot dimensions, often using digital tools to enhance accuracy. These measurements guide the mold’s shape and size.
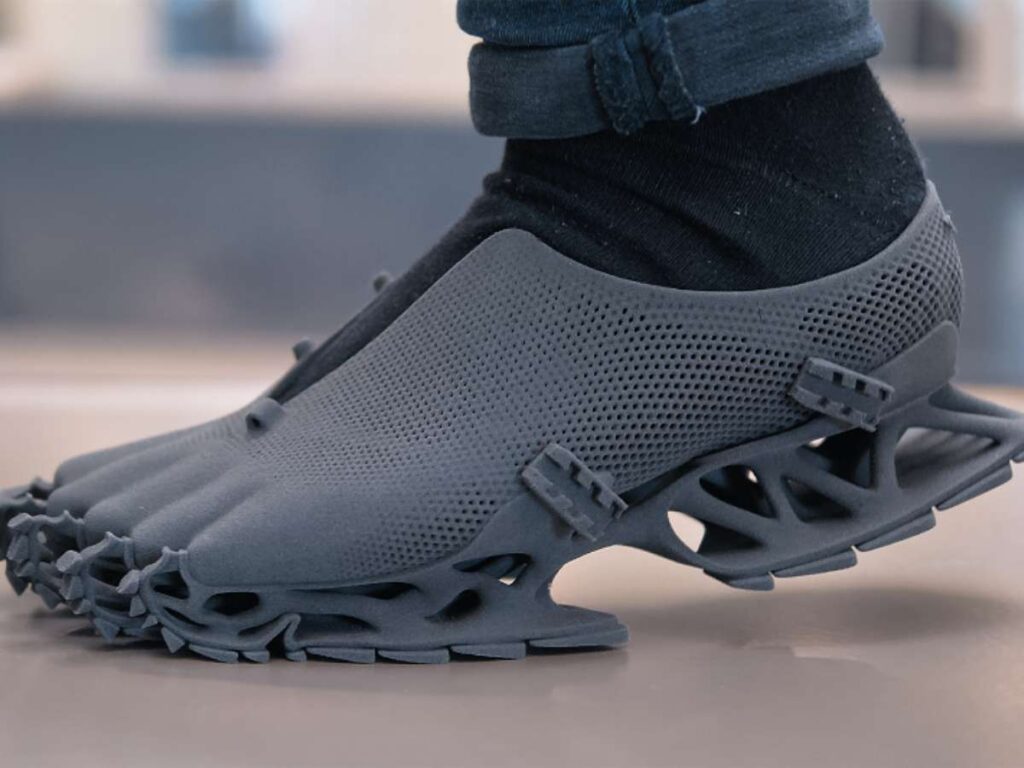
- Carving or Printing the Base: Traditional lasts are carved from wood or plastic, while modern manufacturing often uses 3D printing to create highly accurate molds. Each method guarantees the mold matches the desired specifications.
- Shaping for the Design: The mold is sculpted to reflect the shoe’s style—whether it’s a sleek formal shoe, a cushioned running sneaker, or a sturdy hiking boot. This step focuses on achieving the right contours.
- Smoothing and Finishing: Once the basic shape is complete, the mold is refined. For instance, edges are smoothed, and adjustments are made to eliminate imperfections that could affect the shoe’s fit.
- Testing for Fit: Before production, the mold is tested by creating a sample upper or using it in a trial run. This process confirms that the design meets expectations and achieves the desired fit.
Step#4: Pattern Cutting
Pattern cutting is where the design starts to come to life. This step involves creating the individual pieces that will be stitched together to form the shoe:
- Preparing Templates: Templates for the shoe’s upper, lining, and other parts are created based on the design. These templates serve as the blueprint for cutting materials accurately.
- Cutting Materials: Using tools like automated cutting machines or hand tools, materials such as leather, textiles, or synthetics are cut into the required shapes. Precision is vital to achieve a seamless fit during assembly.
- Organizing the Pieces: Each cut piece is sorted and labeled to keep the process efficient and organized. This avoids confusion and establishes smooth assembly in the later stages.
Step#5: Stitching and Assembling the Upper
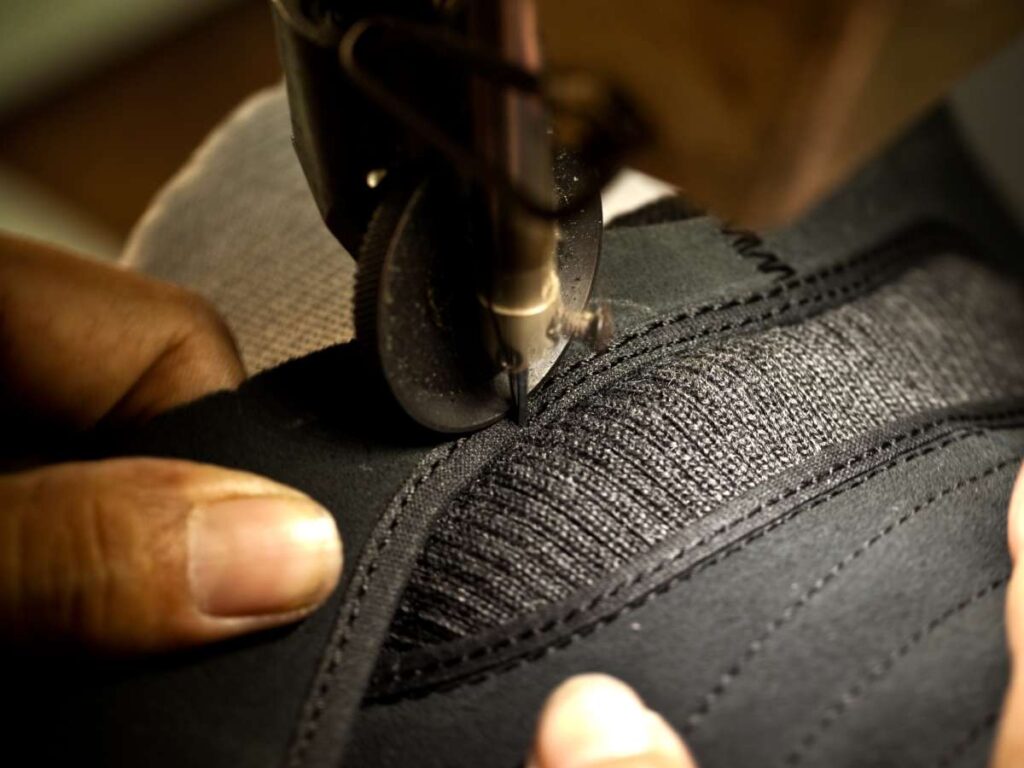
The upper is the most visible and detailed part of the shoe. This step involves carefully stitching and assembling its various pieces to create a cohesive structure:
- Joining the Pieces: Components like the vamp, tongue, and quarters are stitched together using durable threads and precise techniques. The aim is to create a seamless, strong structure.
- Adding Reinforcements: Areas like the toe box and heel are reinforced for durability and support. Depending on the design, padding or stiffeners may also be added for extra comfort or structure.
- Incorporating Decorative Elements: Logos, trims, or embroidery are added at this stage. These details enhance the shoe’s appearance and align it with the overall design concept.
- Inspection Before Moving On: Every assembled upper is inspected for stitching quality, alignment, and durability. Only flawless pieces progress to the next step.
Step#6: Preparing the Sole
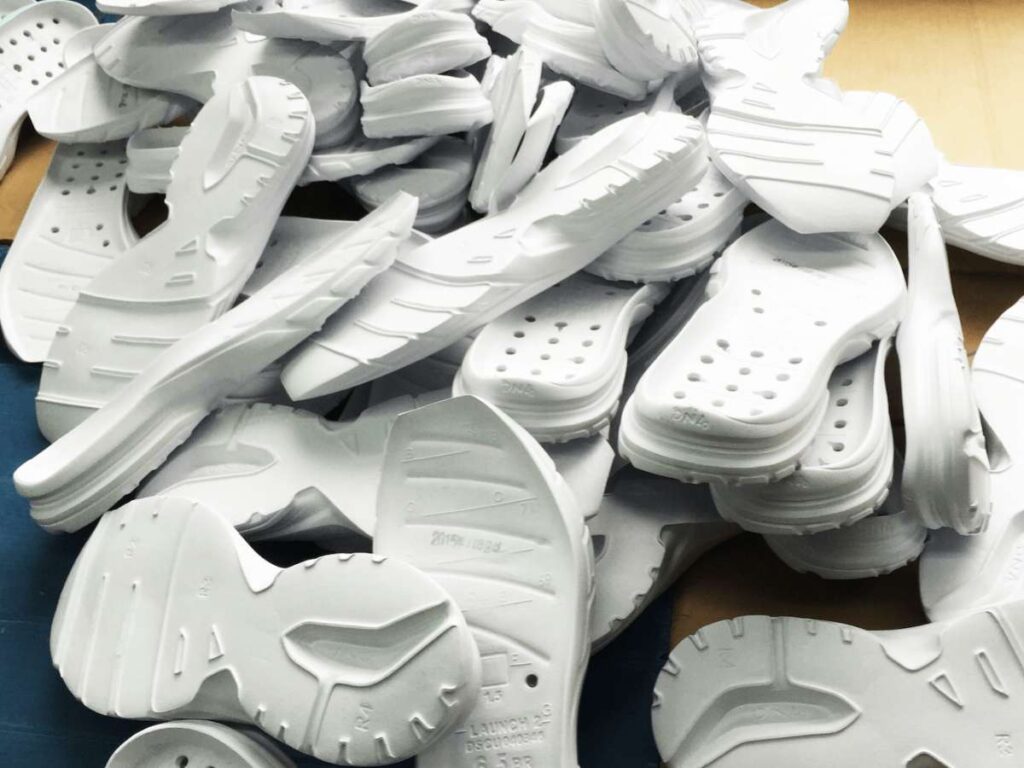
The sole is the foundation of any shoe, combining durability, comfort, and performance. This step focuses on creating a sole that aligns with the shoe’s purpose and design.
- Material Selection: Different materials are chosen based on the shoe’s function and intended use.
- Rubber: Ideal for work boots and athletic shoes, rubber offers excellent grip and durability.
- EVA Foam: Lightweight and shock-absorbing, this material is often used in running and casual shoes for added comfort.
- Polyurethane (PU): Known for its flexibility and resilience, PU is commonly found in high-performance and industrial footwear.
- Thermoplastic Rubber (TPR): A blend of durability and flexibility, TPR is used for everyday wear and children’s shoes.
- Molding the Sole: Techniques such as injection molding or compression shaping are used to create the sole’s structure and apply patterns like treads for traction.
- Adding Functional Layers: Performance-focused soles may include midsoles for shock absorption and outsoles for wear resistance, providing long-lasting functionality.
- Heat Setting and Finishing: High temperatures are used to cure the sole, enhancing its strength and flexibility. Edges are trimmed, and surface imperfections are smoothed out before assembly.
Step#7: Attaching the Sole to the Upper
Attaching the sole to the upper is a crucial step where the shoe starts to come together as a functional product. This stage focuses on securing a strong and lasting bond between the two main components:
- Preparing the Surfaces: Both the sole and upper are cleaned and prepped to achieve a seamless attachment. For materials like leather or rubber, surface roughening may be performed to improve adhesion.
- Applying Adhesives: Specialized adhesives are used depending on the materials involved.
- Cement Adhesives: Common for casual and athletic shoes, offering strong flexibility and durability.
- Thermoplastic Adhesives: Often used for high-performance footwear, activated by heat for a secure bond.
- Joining Components: The upper and sole are carefully aligned and pressed together. For instance, hydraulic or pneumatic presses are sometimes used to apply even pressure, creating a secure bond without gaps.
- Finishing the Bond: The shoe is placed in a heat-setting or curing system to strengthen the adhesive. In some cases, additional stitching is added for extra durability, especially in high-stress areas like work boots.
Step#8: Lasting and Shaping
Lasting and shaping is where the shoe takes its final form. This process allows the upper to conform precisely to the last, defining the shoe’s structure and fit.
- Stretching the Upper: The upper is pulled tightly over the shoe last, aligning it seamlessly with the sole and forming the desired shape.
- Securing and Shaping: Heat or steam is applied to make the materials more pliable, while tacks or adhesives hold the upper in place as it conforms to the last.
- Trimming and Refining: Excess material is removed, and the edges are smoothed for a clean, professional finish. The shoe is now ready for final touches.
Step #9: Finishing and Polishing
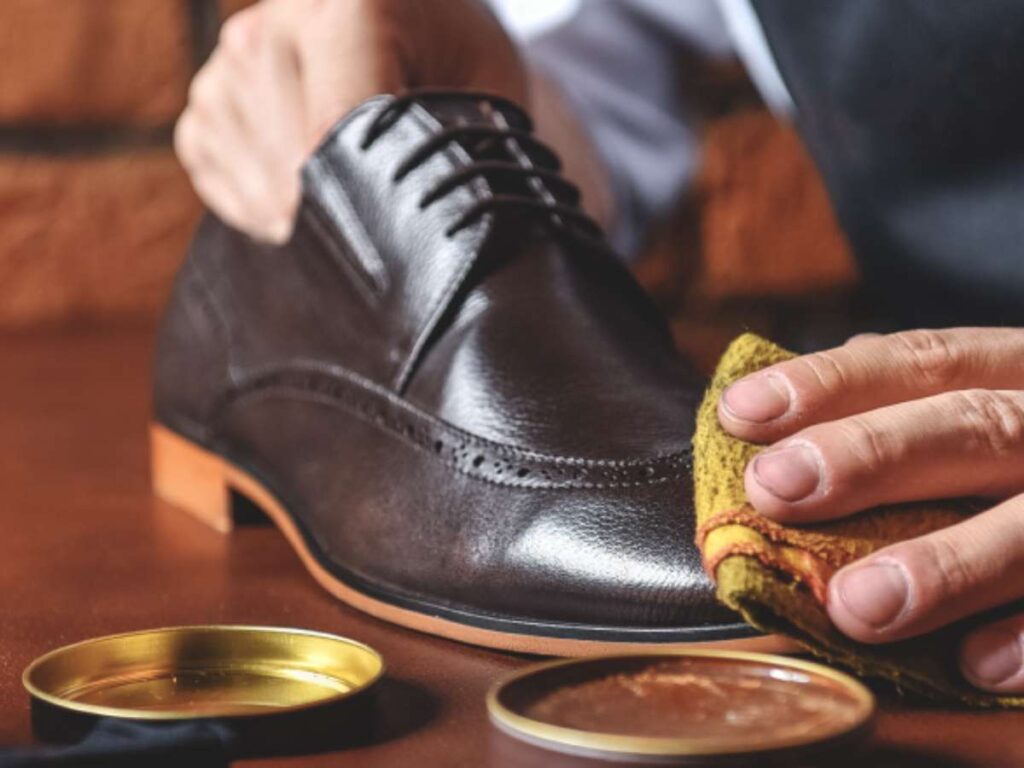
The finishing and polishing stage gives the shoe its final appearance and prepares it for the market. This step improves both its aesthetics and functionality.
- Smoothing and Polishing: The shoe is polished to remove surface imperfections and enhance its overall presentation. For leather, wax or shoe cream is applied to achieve the desired finish, whether glossy or matte.
- Adding Decorative Details: Elements like logos, laces, or trims are carefully installed. These additions enhance the design and complete the shoe’s visual identity.
- Protective Coatings: A waterproof or stain-resistant coating is applied to enhance durability, allowing the shoe to withstand regular wear. This step safeguards both the material and the finish.
- Final Quality Check: The shoe is inspected for any visual flaws or functional issues. Any imperfections are corrected to uphold high-quality standards.
Step #10: Quality Control
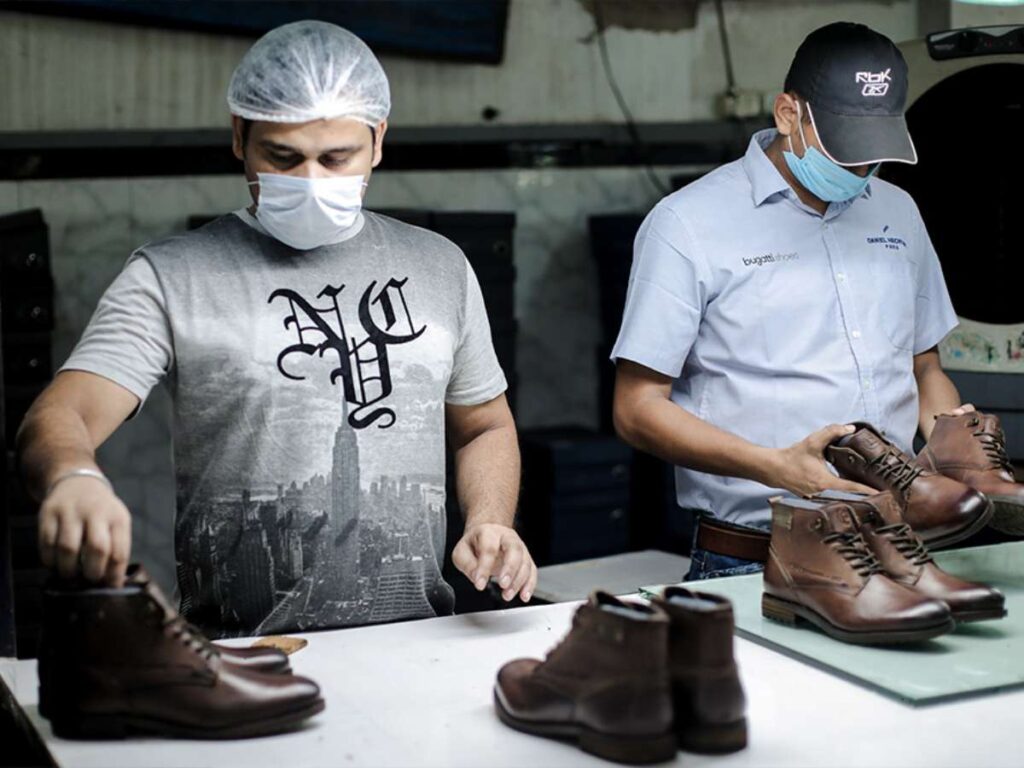
Quality control verifies that every shoe meets the highest standards before reaching the market. This step involves detailed inspections to confirm both functionality and appearance.
- Visual Inspection: Each shoe is examined for visible flaws, such as uneven stitching, poor alignment, or surface imperfections. Any defects are flagged for correction.
- Performance Testing:Shoes are tested for durability, flexibility, and comfort under simulated conditions. This process confirms they can withstand regular use and align with customer expectations.
- Batch Sampling: In larger production runs, random samples from the batch are reviewed in detail. This helps identify and address potential inconsistencies in the manufacturing process.
- Final Approval: Only shoes that pass all quality checks are cleared for packaging and shipping. Those with issues are either repaired or removed from the production line.
Step #11: Packaging and Shipping
Packaging and shipping mark the final stage of the shoe manufacturing process. This step guarantees that the product arrives at its destination safely and in excellent condition.
- Protective Packaging: Each pair of shoes is packed in a branded box with appropriate cushioning to prevent damage during transit. Boxes are labeled with details such as size, color, and model.
- Bulk Handling: For large orders, individual boxes are grouped into cartons and sealed securely. Cartons are arranged to maximize space efficiency while minimizing the risk of damage.
- Shipping Arrangements: At XDS, multiple shipping terms are available, including EXW, FOB, CFR, CIF, and DDU. These terms provide flexibility for clients based on their logistical preferences and requirements.
Conclusion
Manufacturing a shoe involves a series of precise steps, from initial design to final packaging. Each stage, whether it’s selecting high-quality materials, crafting durable soles, or achieving a flawless finish, plays a vital role in creating a product that fulfills functional and aesthetic requirements. The blend of skilled craftsmanship and modern technology helps produce footwear that aligns with market demands and customer expectations.
We hope this guide has provided valuable insights into the complexities of shoe manufacturing. At XDS, we take pride in offering solutions that match the quality, innovation, and variety of top brands. Contact XDS today to explore how our comprehensive solutions can help grow your business with high-quality footwear tailored to your requirements.
Discover More Options
There’s so much more to discover! Check out our other products and find what fits your needs:
By Region – General:
- Top 7 Shoes Manufacturers in the USA
- Top 7 Shoe Manufacturers in Europe
- Top 7 Shoe Manufacturers in China
By Region – Global:
- Top 8 Asian Shoes Manufacturers
- Top 9 Shoe Manufacturers in South Africa
- Top 7 Shoe Manufacturers in Australia
By Business Type:
- 7 Best Shoe Companies
- Top 7 Footwear Manufacturers
- Top 9 Shoes Manufacturer Companies
- Top 9 Private Label Shoes Manufacturers
- Top 7 Shoes Manufacturers in Mexico
Manufacturing Insights:
- How to Find a Shoe Manufacturer?
- List of Best Shoe Manufacturers
- Footwear Manufacturing Process: A Step-by-Step Guide
- The Ultimate Guide to Footwear Quality Assurance
- 10 Best Durable Shoe Brands
Product-Specific:
- Top 8 Round Shoes Manufacturers
- Top 9 Leather Shoe Manufacturers
- Top 9 Canvas Shoe Manufacturers
- Top 7 Rubber Shoes Wholesale Manufacturers
- Top 9 Expanding TPU Sole Shoes Manufacturers
By Demographic:
- Top 8 Women Shoe Manufacturers
- Top 8 Women’s Footwear Manufacturers
- Top 9 Men’s Shoe Manufacturers
- 9 Best Dress Shoe Companies
- Top 5 Vibram Shoes Wholesale Manufacturers
Niche & Specialty:
- Top 9 Fur Shoes Wholesale Manufacturers
- Top 8 Waterproof Shoes Suppliers
- Top 7 EVA Shoe Manufacturers from China
- Top 7 Eco Friendly Shoe Manufacturers
Still haven’t found what you’re looking for? Don’t hesitate to contact us; we’re available around the clock to assist you.
Quick Quote
Fill out the form, get the quote in hours!

