How Are Sneakers Manufactured?

Author: Andy Hong | Founder at XDS
Hi, I'm Andy Hong, here to share my expertise in footwear manufacturing with you.
How Are Sneakers Manufactured?
Table of Contents
Ever wondered how a simple design sketch transforms into a pair of stylish sneakers? It’s a fascinating process that blends creativity with cutting-edge technology.
As an expert in footwear production, I know what it takes to bring sneaker concepts to life. My expertise covers every step, from design to final product delivery.
Sneaker manufacturing is a detailed process involving design, material selection, cutting, stitching, assembling, and quality checking.
In this guide, you’ll discover the different steps in sneaker production. We will cover key stages such as material sourcing and quality control processes.
So let’s begin!
Quick Process Chart
The sneaker manufacturing process involves several crucial stages that transform a basic design into a fully finished product. Each step plays an essential role in shaping the shoe’s durability, appearance, and functionality. Here is a table outlining the essential steps involved:
| Step # | Step Process | Description |
| 1 | Design and Concept Development | Designers create initial sketches and technical drawings of the shoe. This stage defines the sneaker’s style, features, and overall design. |
| 2 | Material Preparation | Factories source and prepare fabrics, leather, and soles based on design specifications. Materials are inspected and organized for production. |
| 3 | Upper Assembly | The shoe’s upper components are stitched and assembled. This process shapes the top part of the shoe for comfort and style. |
| 4 | Sole Manufacturing | Soles are crafted using durable materials like rubber or foam. They are molded, pressed, and shaped for flexibility and support. |
| 5 | Lasting (Shaping the Shoe) | The upper is stretched over a foot-shaped mold called a last. This process gives the sneaker its final shape and structure. |
| 6 | Assembling the Upper and Sole | The upper and sole are securely bonded using adhesive and stitching. This step forms the complete shoe, ready for finishing touches. |
| 7 | Quality Control | Each shoe is inspected for defects and tested for durability. Only shoes meeting production standards move forward. |
| 8 | Finishing Touches | Final details like logos, labels, and insoles are added. The shoes are cleaned and polished for a professional look. |
| 9 | Packaging | Sneakers are paired, boxed, and labeled for shipping and retail display. Proper packaging keeps the shoes protected and ready for sale. |
Step#1 Design and Concept Development
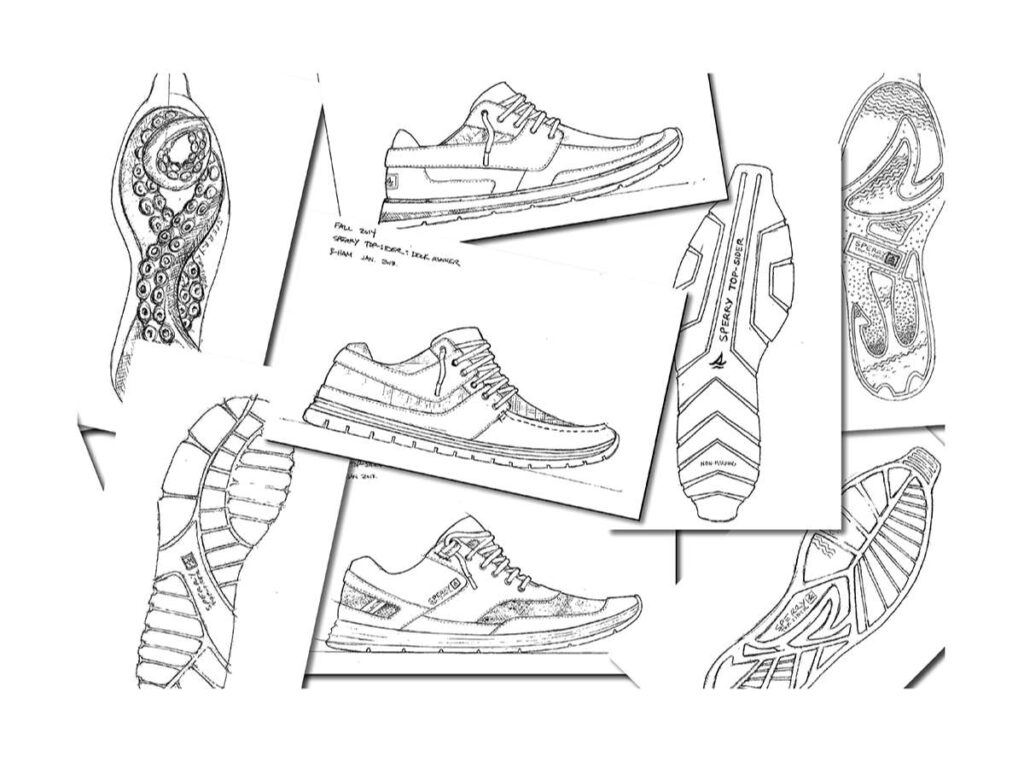
Every great sneaker starts with a creative idea. Designers brainstorm styles, shapes, and features that appeal to customers. This stage lays the foundation for the entire production process. Here are the key steps involved:
- Research Market Trends: Designers study popular styles, materials, and colors to create something fresh and appealing. This helps align new designs with what customers want.
- Create Initial Sketches: Hand-drawn or digital sketches outline the shoe’s look, showing its overall shape and style. This visual guide helps communicate the designer’s concept.
- Develop Technical Drawings: Detailed drawings include measurements, stitching lines, and material specifications. These serve as a blueprint for the production team.
- Build Prototypes: Basic models are crafted to test how the shoe looks and fits. Adjustments are made based on how the prototype performs. At XDS, we create precise prototypes that help refine designs quickly, offering a smooth transition to full-scale production.
- Finalize the Design: After reviewing the prototype, the final design is approved, setting the stage for material selection and production.
Step#2 Material Preparation
Once the design is approved, gathering the right materials becomes crucial. Each component is carefully chosen for durability, style, and comfort. Here’s how materials are prepared:
- Select Quality Materials: Factories source fabrics, leather, and synthetic materials based on the approved design. This step focuses on balancing aesthetics with functionality.
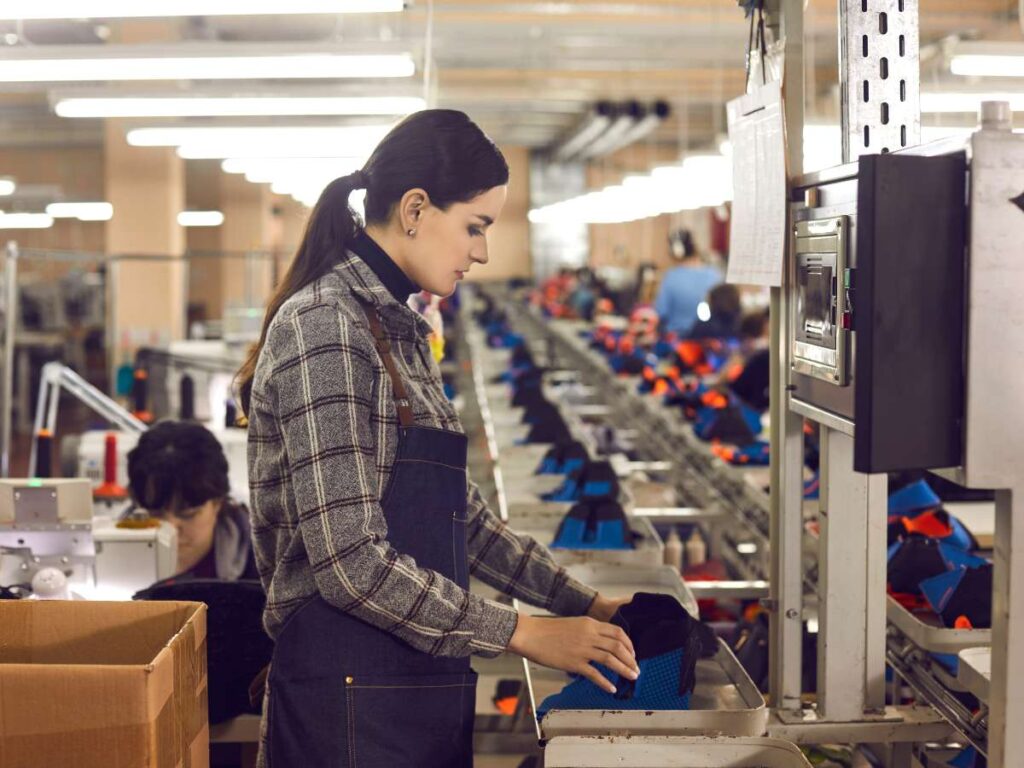
- Cut Fabric and Leather: Cutting machines shape the materials into sections like the upper, lining, and sole pieces. This precision ensures pieces fit together perfectly.
- Prepare Reinforcement Parts: Supportive elements like heel counters and toe caps are formed to add strength and maintain the shoe’s structure.
- Organize Components: Each part is labeled and sorted for easy access during assembly. This keeps the production line efficient and organized.
Step#3 Upper Assembly
With materials ready, the next step is assembling the upper part of the sneaker. This section includes fabric or leather covering the top of the foot. Below are the steps involved:
- Cut Material Pieces: Pre-cut pieces of fabric, leather, or synthetic materials are gathered based on the design pattern. They form the shoe’s upper when stitched together.
- Stitch Upper Components: Skilled workers use sewing machines to stitch various pieces like side panels, tongues, and collars. Accurate stitching helps maintain the sneaker’s structure and appearance.
- Add Reinforcements: Toe caps, heel counters, and extra padding are inserted where support and protection are needed. This helps shoes hold their shape through extended use.
- Inspect the Completed Upper: The assembled upper is checked for stitching accuracy, proper shape, and any defects. This step guarantees the upper is ready for the next stage.
Step#4 Sole Manufacturing
After the upper part of the sneaker is fully assembled, it’s time to create the sole, which provides comfort, support, and grip. The sole acts as the shoe’s foundation, protecting the foot. Here’s how soles are made:
- Create Sole Molds: Metal molds are crafted based on the shoe’s design. These molds shape different layers, including the outsole, midsole, and insole.
- Mix and Pour Rubber or Foam: Rubber or foam materials are blended and poured into the molds. These materials help absorb shock and provide cushioning for added comfort.
- Press and Heat the Soles: The molds go into specialized machines where heat and pressure harden the materials into strong, durable soles ready for everyday wear.
- Shape Treads and Patterns: Tread designs are formed during molding to enhance grip and stability. This feature keeps sneakers steady on different surfaces.
- Cool and Trim Excess Material: The molded soles are cooled down, and any extra material is trimmed for a clean, precise finish. They are now ready for the next stage of assembly.
Step#5 Lasting (Shaping the Shoe)
With the upper and sole prepared, the next step is shaping the shoe. This process, called lasting, creates the shoe’s final shape, making it ready for assembly. Here are the key steps involved:
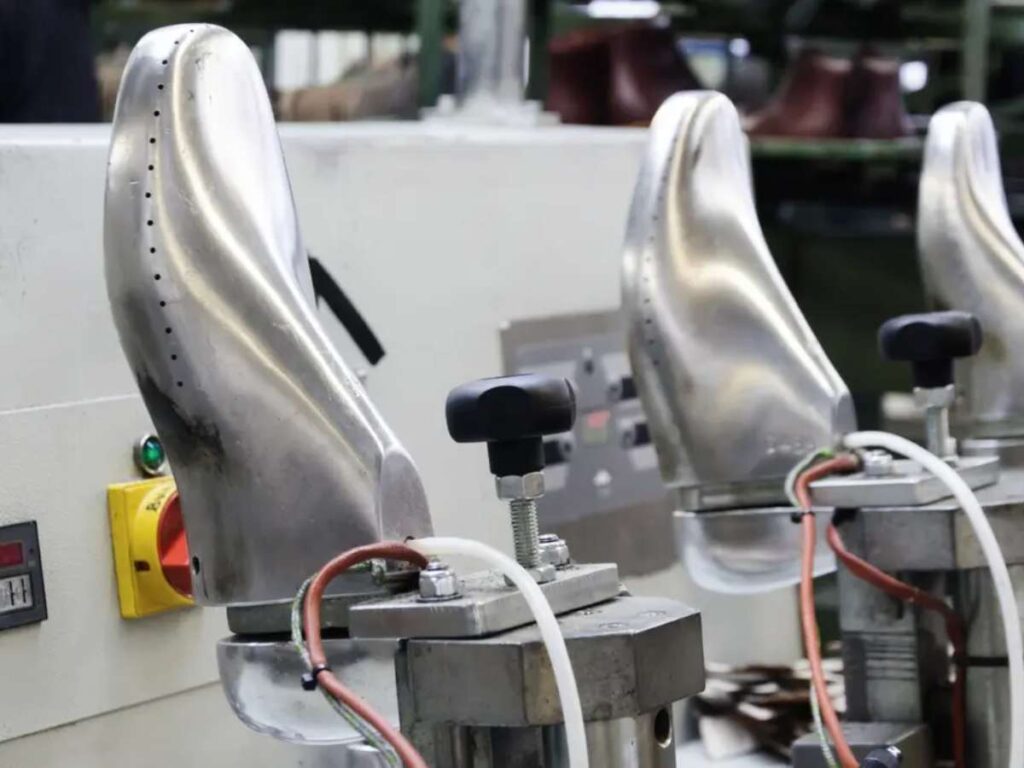
- Insert the Last: The upper is pulled over a last, a mold shaped like a human foot. This defines the sneaker’s fit, size, and overall form.
- Pull and Stretch the Upper: Workers carefully pull and stretch the upper material around the end, securing it tightly. This step prevents wrinkles and keeps the shoe’s structure intact.
- Attach the Upper Temporarily: The stretched upper is temporarily held in place with tacks or adhesive. This keeps it steady while additional work is done.
- Shape the Toe and Heel: Special machines shape the toe and heel areas for a precise fit. For example, in running shoes, the toe area is rounded to allow natural foot movement.
Step#6 Assembling the Upper and Sole
After lasting, the sneaker’s upper and sole come together in this critical step. Proper attachment guarantees comfort, stability, and durability. Here’s how the upper and sole are assembled:
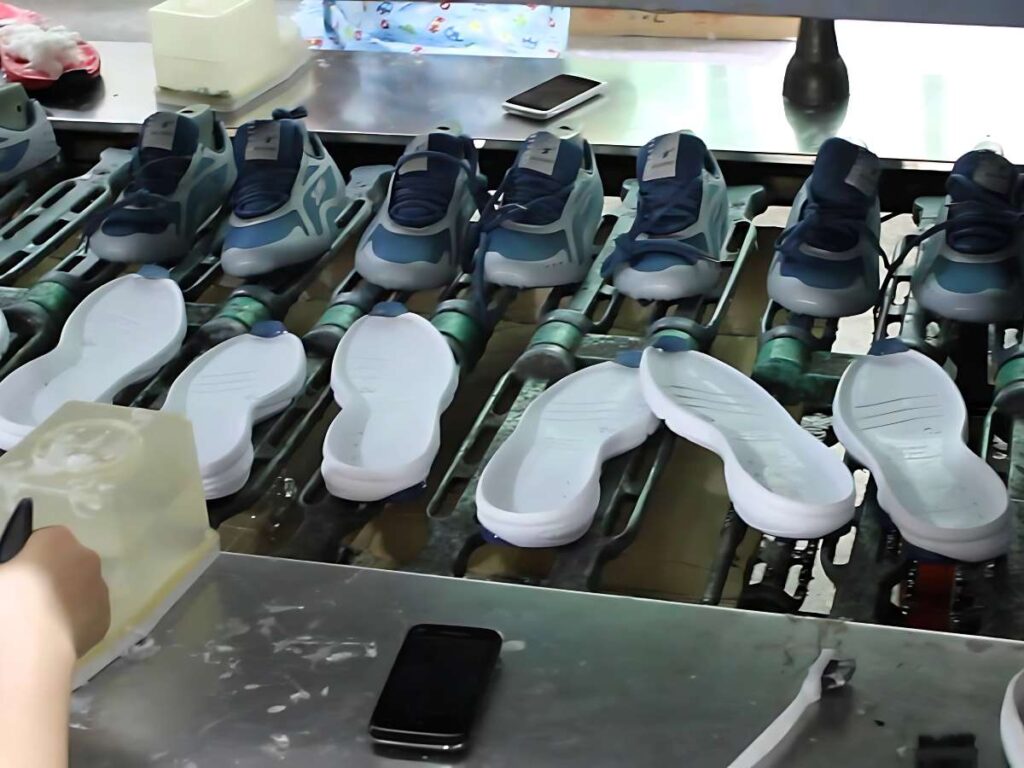
- Apply Adhesive to the Sole: Strong adhesive is spread evenly across the sole’s surface. This step offers a firm bond between the upper and sole, keeping the shoe intact during use.
- Press the Upper onto the Sole: The upper is carefully placed on the sole, aligning key parts like the toe, sides, and heel. Precision during this step prevents gaps and uneven edges.
- Use a Pressing Machine: A pressing machine securely bonds the upper and sole by applying heat and pressure. This strengthens the connection for long-lasting wear.
- Sew for Extra Durability: Many sneakers also feature stitching along the edges where the upper meets the sole. This added reinforcement boosts the shoe’s strength and lifespan.
Step#7 Quality Control
After assembling the sneaker, it undergoes a thorough quality check. This step helps confirm that each pair meets design and production standards before being sent to market. Here’s how the quality control process works:
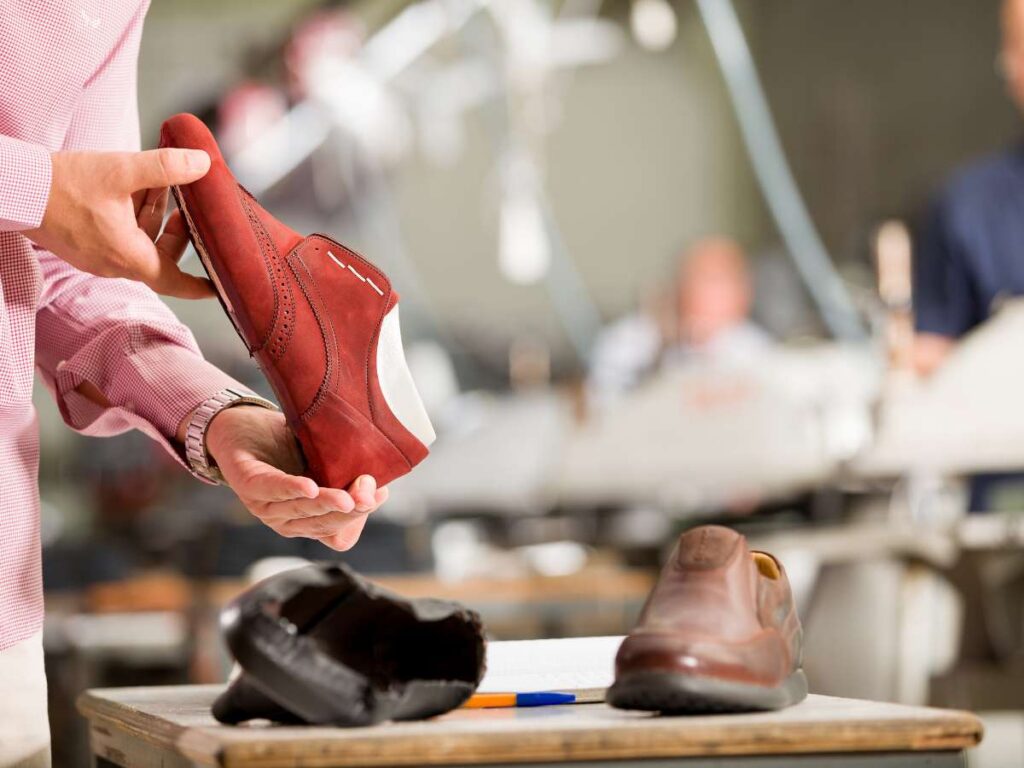
- Visual Inspection: Workers carefully examine the shoe for flaws like loose threads, uneven stitching, or material defects. This first check helps spot easy-to-fix problems early on.
- Fit and Flex Test: Sneakers are tested for proper fit and flexibility by bending, stretching, and pressing different parts. This guarantees that the shoes are comfortable and durable.
- Bonding Strength Check: The attachment between the upper and sole is tested by pulling and twisting the shoe. For example, in sports sneakers, a strong bond is essential to handle high-impact activities.
- Tread and Grip Test: The outsole’s grip is tested on different surfaces to confirm stability and slip resistance. This check guarantees the sneaker performs well in various environments.
- Final Approval: Approved sneakers are labeled as ready for packaging, while defective pairs are sent back for adjustments or rework. Only products passing all tests proceed to the next step.
Step#8 Finishing Touches
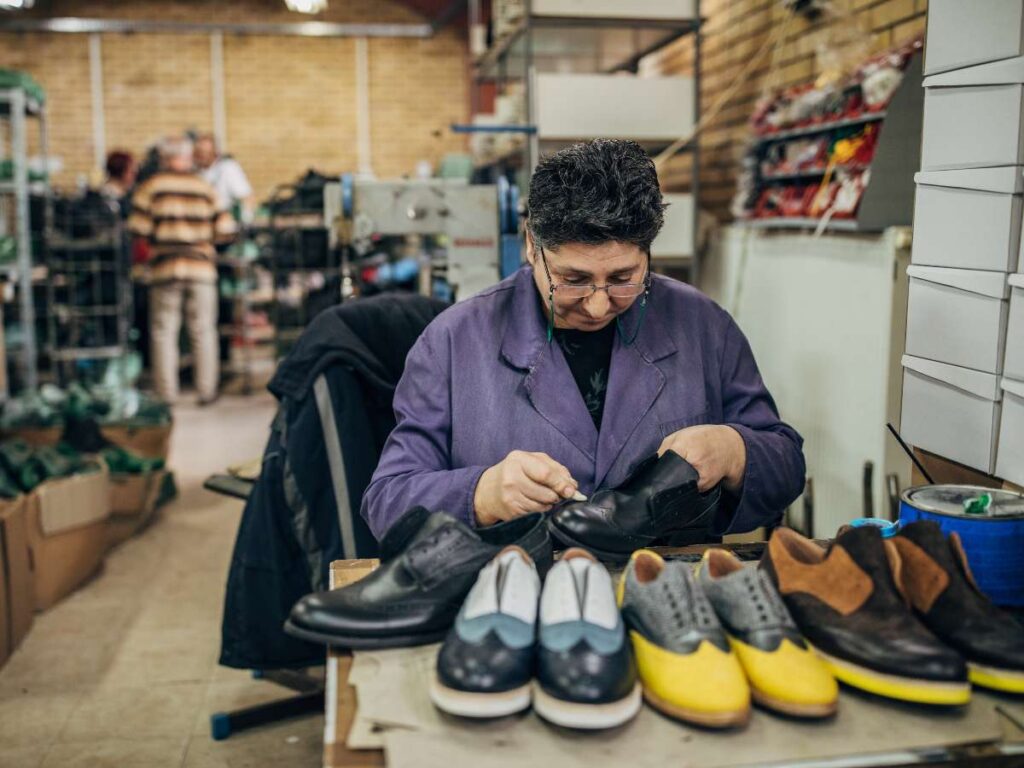
After passing quality control, the sneakers receive their final details. This stage involves adding decorative elements and getting the shoes ready for display or shipment. Here’s how the finishing touches are applied:
- Attach Decorative Features: Logos, labels, and custom prints are added for brand identity and style. These elements make each pair recognizable, helping brands stand out in a competitive market. According to Statista, the sneakers market size is projected to increase at a CAGR of 5.30%, highlighting the growing demand for branded footwear worldwide.
- Polish and Clean the Shoe: Shoes are cleaned to remove dust and polish for a fresh, new look. This gives them a showroom-ready appearance.
- Add Insole and Laces: Comfortable insoles are inserted, and laces are threaded through eyelets. Properly installed insoles enhance comfort, while laces secure the fit.
- Check Packaging Details: Workers check that the right tags, barcodes, and labels are in place. This helps streamline inventory management and sales tracking.
Step#9 Packaging
After the finishing touches are complete, the sneakers are ready for packaging. This final step involves preparing the shoes for shipping while keeping them safe. Below are the key steps involved in the packaging process:
- Pair and Organize Shoes: Each pair of sneakers is matched, with the left and right shoes placed together. Organizing pairs helps avoid mix-ups and simplifies the next steps in the process.
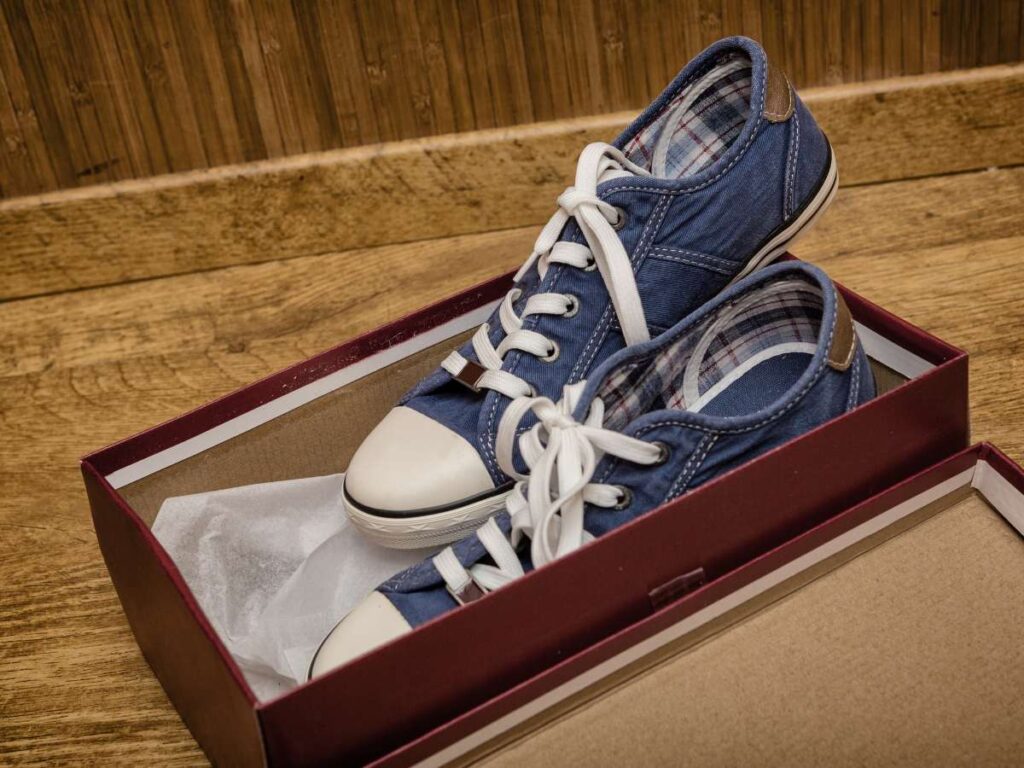
- Insert Protective Materials: Soft tissue paper or foam inserts are placed inside the shoes to maintain their shape during transit. This prevents creases or damage that could occur while being shipped.
- Place in Branded Shoe Boxes: Sneakers are packed in branded boxes featuring the company’s logo and design. These boxes add a professional look and enhance brand visibility in stores.
- Conduct Final Inspection: The XDS team performs a final inspection of the packaged shoes to confirm that each box contains the correct size, style, and pair. This reduces shipping errors and maintains high product standards.
Conclusion
Manufacturing sneakers involves several essential steps, from designing to packaging. Each stage plays a critical role in creating high-quality footwear that is stylish, functional, and ready for the market. Attention to detail at every step ensures the final product meets both aesthetic and performance standards.
We hope this guide helped you understand how sneakers are made from start to finish. If you’re looking for a reliable shoe manufacturer without the hassle of high MOQ requirements, consider partnering with XDS. We offer low MOQs and provide professional responses to all inquiries. Contact us today to learn how we can bring your sneaker designs to life.
Explore More Helpful Resources
There’s more to explore! Check out our additional product selections to find exactly what you’re looking for:
We’ve gathered a few more articles that could help you out. Check them out for more great advice:
Shoe Industry & Brands:
Sourcing & Manufacturing Guides:
Still haven’t found what you’re looking for? Don’t hesitate to contact us; we’re available around the clock to assist you.
Quick Quote
Fill out the form, get the quote in hours!


